
If you’ve ever stood over a pot of just-picked tomatoes and thought, “I should be canning these,” you’re not alone. Home canning is one of the most rewarding skills a homesteader or backyard gardener can learn… and one of the most misunderstood.
The biggest stumbling block for beginners isn’t necessarily the process itself. It’s deciding whether water bath vs. pressure canning is the best choice. Pick the wrong one for the wrong food, and you’re not just wasting your harvest. You’re creating a real safety risk.
This guide breaks down the difference between the two methods, explains the science behind why it matters, and gives you a clear roadmap for getting started with confidence.
Why Canning Safety Matters More Than You Think
Before we talk equipment or technique, let’s talk about why canning requires such careful attention to method.
The enemy isn’t mold. It’s Clostridium botulinum, the bacteria responsible for botulism, a rare but potentially fatal form of food poisoning.
Unlike most harmful bacteria, this one produces spores that can survive boiling temperatures (212°F / 100°C). In a sealed, low-oxygen environment, such as a jar of improperly canned green beans, those spores can germinate and produce a deadly toxin.
However, the risk is completely manageable when you understand what you’re working with. The key is acidity.
- High-acid foods (with a pH of 4.6 or below) create an environment where C. botulinum can’t grow. That’s why water bath canning, which only reaches 212°F, is safe and sufficient for these foods.
- Low-acid foods (pH above 4.6) need to be processed at 240–250°F, which requires pressurized steam to achieve. That’s the entire job of a pressure canner.
This is the foundation of all canning safety. Every decision you make about method flows from this one principle.
Water Bath Canning: Your Gateway to Home Preservation
Water bath canning is exactly what it sounds like: jars submerged in boiling water. The heat destroys mold, yeast, and any bacteria that can survive in a high-acid environment, which covers most fruits, pickles, jams, jellies, and tomato products when treated correctly.
It’s the natural starting point for beginners because the equipment is simple, the process is forgiving, and the range of foods you can preserve is enormous.
What you can safely water bath can:
- Fruits and fruit purees (applesauce, peach halves, pear butter, etc.)
- Jams, jellies, and marmalades
- Pickles and pickled vegetables
- Tomatoes and tomato products* (with added lemon juice or citric acid)
- Salsas made from tested recipes
- Fruit juices
- Vinegar-based condiments and relishes
Note the asterisk on tomatoes. Modern tomato varieties often sit at a borderline pH, so tested recipes always require added acid (usually 2 tablespoons of bottled lemon juice or ¼ teaspoon of citric acid per quart). Don’t skip this step.
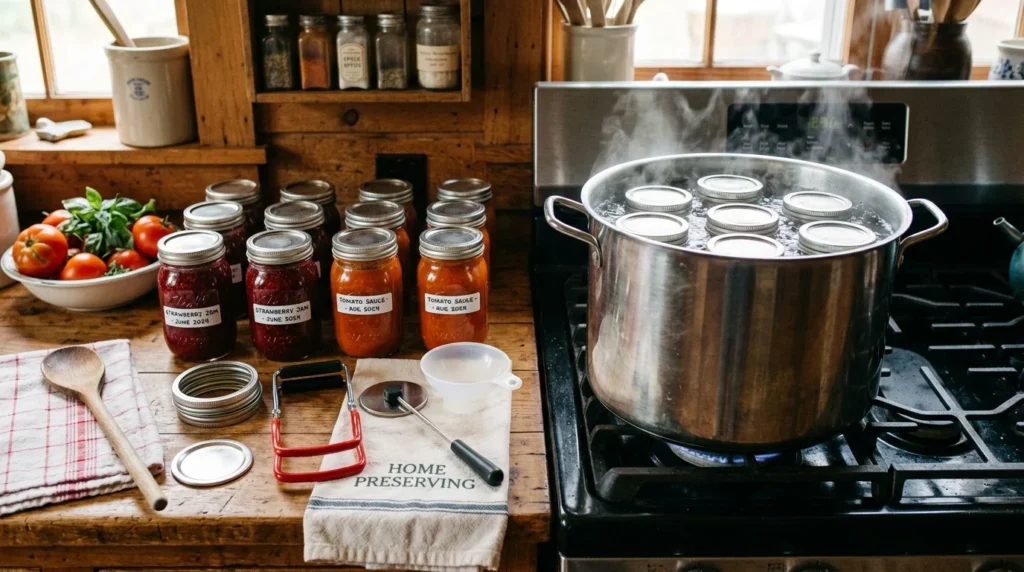
How Water Bath Canning Works
Fill jars with your prepared food, leaving the headspace specified in your recipe (usually ½ to 1 inch). Wipe the jar rims clean, apply lids and bands, and lower the jars into a pot of boiling water.
The jars must be covered by at least 1–2 inches of water. Process for the time specified in your recipe, and then remove and let cool undisturbed for 12–24 hours. As jars cool, the lids will seal with a satisfying “pop.”
Equipment You’ll Need for Water Bath Canning
Getting started with water bath canning doesn’t require much:
- A large stockpot or dedicated water bath canner (must be deep enough to cover jars by 2 inches)
- A jar rack (to keep jars off the bottom of the pot and prevent cracking)
- Mason jars in the appropriate size for your recipe
- New lids (bands can be reused; lids should not be)
- Jar lifter
- Wide-mouth funnel
- Bubble remover or thin spatula
- Clean kitchen towels
A basic water bath canning kit, including a pot, rack, and tools, runs $30–$50 at most hardware or home goods stores. You can also find dedicated water bath canners that come with everything bundled together.
Pressure Canning: The Tool for Low-Acid Foods
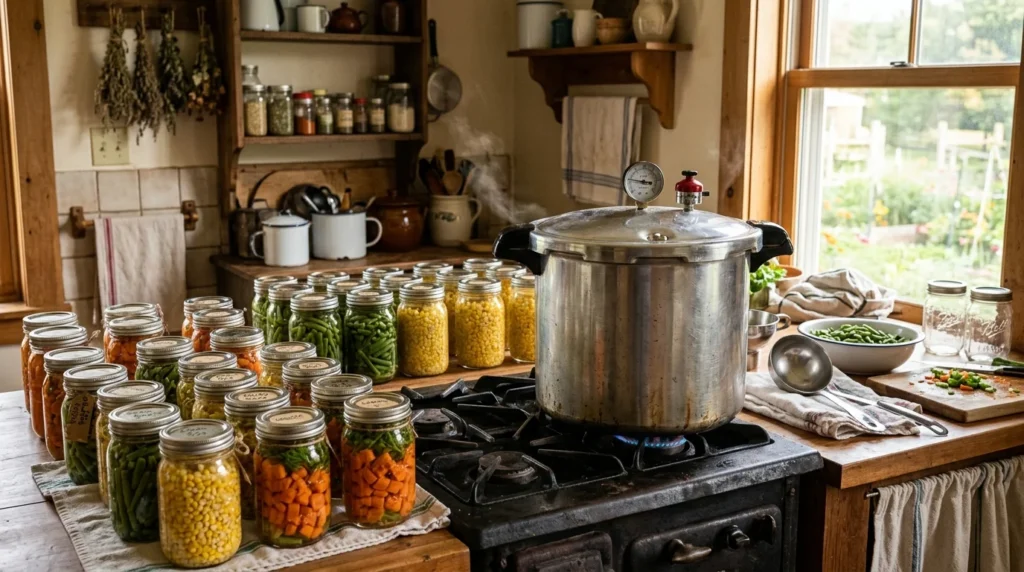
Pressure canning is the only safe method for preserving low-acid foods at home. No exceptions.
This covers a long list of garden staples and pantry essentials, such as beans, corn, carrots, beets, potatoes, peppers, meat, poultry, fish, soups, and stews.
These foods have a pH above 4.6, which means botulism spores can survive water bath temperatures and potentially multiply in a sealed jar.
A pressure canner uses steam pressure to raise the internal temperature to 240–250°F, which destroys botulism spores.
It is not the same as a pressure cooker (though some newer models do double duty). The National Center for Home Food Preservation recommends canners with at least a 16-quart capacity for safe heat distribution.
What you can safely pressure can:
- Vegetables (green beans, corn, carrots, beets, peas, peppers, potatoes, etc.)
- Dried beans and legumes
- Meat, poultry, and fish
- Soups and stews (without dairy or pasta)
- Stocks and broths
- Mixed dishes like chili or pasta sauce (without pasta)
If you’re growing a substantial vegetable garden and want to store green beans, corn, or delicata squash through the winter, pressure canning is essential.
How Pressure Canning Works
Fill prepared jars with food and the liquid specified in your recipe (usually water, broth, or nothing for dry pack).
Apply lids, place jars in the canner with the appropriate amount of water (usually 2–3 quarts), and lock the lid in place. Heat until steam vents steadily, and then place the weighted gauge or close the petcock and allow pressure to build to the level specified in your recipe.
Hold that pressure for the full processing time, and then remove from heat and let pressure drop naturally; never force it. Remove jars carefully, and let cool undisturbed.
Equipment You’ll Need for Pressure Canning
- A pressure canner (Presto, All American, and Mirro are the most common brands)
- Mason jars and new lids
- Jar lifter and wide-mouth funnel
- A dial gauge that has been tested for accuracy (most county extension offices offer free testing)
Pressure canners range from $80 to $350+. The All American models (which use a metal-to-metal seal and require no gasket) are expensive but nearly indestructible. For most beginners, a weighted-gauge Presto is a perfectly solid and affordable choice.
Water Bath vs. Pressure Canning: The Short Version
The difference between the two methods comes down to one variable: acidity.
- Water bath canning is for: High-acid foods (pH 4.6 or below), including fruits, jams, pickles, tomatoes with added acid, and vinegar-based products. Processing temperature: 212°F. Equipment: a large pot with a rack.
- Pressure canning is for: Low-acid foods (pH above 4.6), including vegetables, meats, beans, and soups. Processing temperature: 240–250°F. Equipment: a pressure canner.
If a food is high-acid, water bath canning is safe and sufficient. If a food is low-acid, only a pressure canner will do.
Adding vinegar or lemon juice to low-acid vegetables does NOT make them safe for water bath canning unless you’re following a tested pickling recipe; the ratio matters enormously.
Which Method Should You Start With?
For most beginners, water bath canning is the right starting point. The equipment is cheap, the process is approachable, and the reward-to-effort ratio is high.
A batch of strawberry jam or a dozen pints of pickles is a great first project. You get to learn the fundamentals, such as headspace, processing time, jar sealing, and sterility, without the added variable of managing pressure.
Once you’re comfortable with the basics, pressure canning opens up the rest of your pantry. If you’re growing green beans, corn, or other low-acid vegetables, a pressure canner is the next logical investment.
The most important rule either way is to always use a tested, approved recipe. USDA-approved recipes have been scientifically tested to ensure safe acidity, density, and processing times.
The Ball Blue Book, the National Center for Home Food Preservation, and your local cooperative extension service are all trustworthy sources. Don’t improvise ratios, thickeners, or jar sizes; it affects heat penetration and can compromise safety.
The Equipment Trap Most Beginners Fall Into
New canners often get tripped up buying equipment before understanding the basics. Here’s what actually matters:
- Always buy new lids. Lids have a sealing compound that compresses once. Reusing lids, even ones that look fine, is one of the most common causes of seal failures.
- Use the right jar size. Processing times are calibrated to jar size. A recipe tested for pints isn’t necessarily safe in quarts without adjustment. Always follow your recipe’s specified jar size.
- Test your dial gauge. Pressure canner dial gauges can drift over time. A gauge that reads 10 psi when the actual pressure is 8 psi means under-processing your food. Extension offices test them for free.
- Never skip headspace. Too little headspace means food can boil up into the lid and prevent sealing. Too much, and you may not get a good vacuum seal. Follow the recipe exactly.
Ready To Start Canning? Here’s Your Path Forward
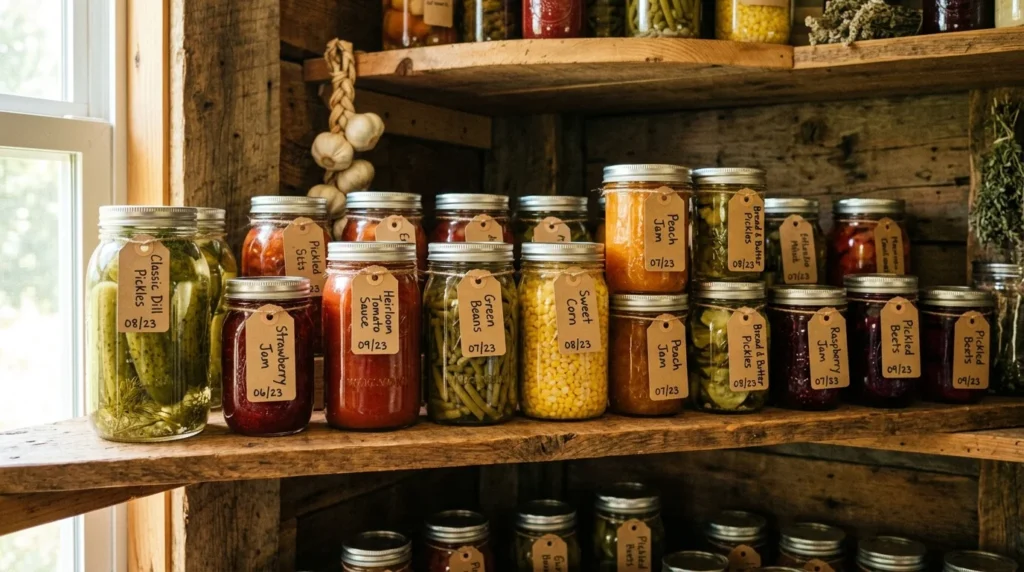
Home food preservation is a skill you build one batch at a time. The learning curve is real, but it’s not steep, and the payoff is a pantry stocked with food you grew and preserved yourself.
Start with water bath canning and a forgiving, high-acid recipe, such as strawberry jam, dill pickles, or tomato sauce. Get comfortable with the process before adding pressure canning to your toolkit.
When you’re ready to go deeper, our full-length guides cover each method in detail:
- Check out our complete water bath canning guide for step-by-step instructions on high-acid foods.
- See our pressure canning for beginners guide when you’re ready to tackle vegetables and meats.
- If tomatoes are on your list, our guide on how to can tomatoes walks through the whole process from blanching to processing.
The jars are waiting. Start simple, follow tested recipes, and build from there.