
The use of grow sponges is essential for success in hydroponics. Without them, progress and benefiting from the method becomes extremely difficult, if not impossible.
But, exactly what are grow sponges used for, you may be asking?
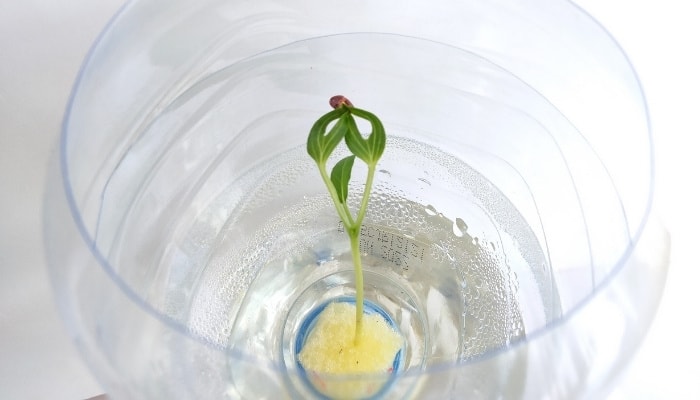
Grow sponges are soilless growing mediums that ensure seeds have just the right environment for germinating. They do so by providing the seeds with adequate amounts of oxygen and water and causing them to sprout. Further, they stimulate rapid growth and healthy root development.
Grow Sponges: The Basics
In order to start seeds successfully, and ultimately successfully grow plants hydroponically, you need to learn all about grow sponges first. Below, we discuss everything you need to know.
What Is a Grow Sponge Made Of?
Grow sponges are made with various materials. Some of the most common are:
- Rockwool
- Peat moss
- Kitchen sponges
- Other organic and man-made materials
Can I Really Start Seeds in a Sponge?
Not only can you really start seeds in a sponge, but grow sponges are considered one of the most successful ways to start seeds. When it comes to hydroponics, there is no better method for starting seeds than using a grow sponge.
Can Plants Grow in a Sponge?
Technically speaking, plants can grow in sponges as long as the sponge is kept wet. However, the more developed they become, the harder they are to sustain in a sponge. That is why plants should be transplanted into another growing medium as soon as they are healthy enough to do so.
Advantages of Using Grow Sponges
A few of the most significant advantages of using grow sponges include:
- It makes it easier to monitor germination and root development
- They make transplanting seedlings easier
- There is no mess involved
- Germinating a large number of seeds is possible in little space
- They are typically reusable
- Seeds germinate very quickly and with little to no effort on your part
Disadvantages of Using Grow Sponges
Despite having more advantages than disadvantages, there is a handful of drawbacks to using grow sponges that you should be aware of:
- They need to be closely monitored
- Improper watering results in wasted seeds and/or no germination
- If they dry out, your seedlings die quickly
- They can be hard to reuse
How Do You Use a Grow Sponge?
So, how exactly do you use grow sponges, you may be wondering at this point? Very easily and efficiently:
- Soak the sponge(s) in water
- Place them in a tray with a shallow bottom
- Add seeds in one of two ways:
- Insert seeds into several of the tiny openings in the sponge
- Create larger holes (think the size of a pencil tip) in the sponge and insert multiple seeds
- Keep the sponge moist by regularly adding water to the tray and/or misting them with a spray bottle
- Carefully remove and transplant seedlings into a growing medium of your choice once germination is complete and the seedlings develop roots at least two inches long
Can I Use a Sponge for Aquaponics?
Grow sponges can absolutely be used for starting seeds for aquaponics. But, after the germination process is complete and the seedlings’ roots begin developing you need to prepare a proper growing medium to transplant them into.
Can I Use a Sponge in Aeroponics?
Sponges work for all sorts of hydroponic growing systems, including aeroponics. However, as with most hydroponics, once the seeds become full-fledged plants it is best to move them into a more suitable growing medium for the remaining growth cycles.
How Do You Transplant Plants Started in a Sponge?
There are two common techniques for transplanting plants started in grow sponges. The first method is to gently pull the plants up and out of the sponge.
The second is trimming the sponge down with scissors and transplanting the seedling along with what is left of the sponge. This technique is typically reserved for plants with delicate roots that may become damaged if you try to remove them from the grow sponge entirely.
Either way, you decide to go, once the plants are removed from the sponge simply place them into the growing medium of your choice. This could be soil, netted pots, or whatever medium best suits your growing style/system.
Can I Use a Kitchen Sponge in my AeroGarden?
Kitchen sponges are not very effective to use in AeroGardens. They are too dense and trap germinated seeds inside.
Seedlings that do sprout and grow in standard kitchen sponges are problematic as well due to their roots becoming stuck inside the sponge.
That means when you try to remove and transplant them, it is nearly impossible and usually ends up killing or severely damaging the plant.
What Can I Use Instead of AeroGarden Grow Sponges?
With a bit of research, you can easily find adequate replacement sponges for your AeroGarden. Biodegradable grow sponges, such as Urban Leaf’s coco-coir sponges, are highly recommended.
Can You Use Peat Moss in Place of Grow Sponges?
Peat moss can be used in place of growing sponges but is not always the best choice. The medium holds more water than most sponges do and also has excellent drainage properties. On the downside, peat moss breaks down quicker than sponges and isn’t reusable in most cases.
How To Control Mold and Mildew on Growing Sponges?
The best way to control mold and mildew on growing sponges is to prevent it from occurring. To do so, simply get them wet and then drop them into boiling water for a couple of minutes.
Likewise, you can also dampen them and stick them in the microwave for approximately five minutes. Either method will effectively kill any mold or mildew present in the sponges. Additionally, soaking them with bleach water has a similar effect.
The 3 Best Grow Sponges for Seeds
Now that you have a basic understanding of grow sponges, let’s take a look at three of the best grow sponges for seeds currently on the market:
Best Grow Sponges for AeroGarden Systems: 50 Pack AeroGarden Sponges

These pure Candian sphagnum peat sponges are the official and most popular replacement sponges for AeroGarden systems. The sponges measure 3 inches tall and half an inch wide and are usable in any AeroGarden grow basket or seed starting system of the same brand.
Pros
- High-quality sponges
- Includes 50 individual units
- Works in all AeroGarden systems
Cons
- Not always available/easy to find
Best Grow Sponges for Germination Trays: General Hydroponics Rapid Rooter
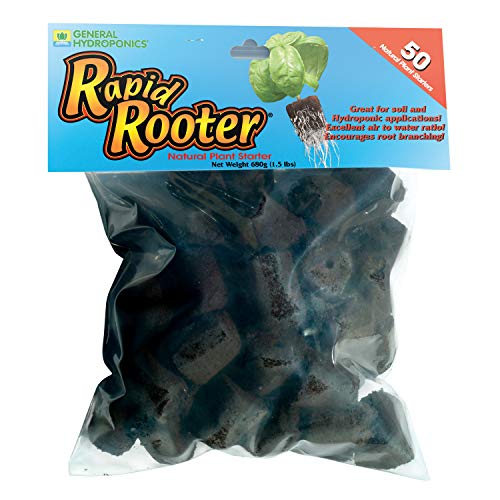
When it comes to starting seeds in germination trays, few products can compare with General Hydroponics Rapid Rooter. These peat moss and binder plugs are packed with just the right micronutrients for fast germination and excellent root development.
Made in smart “green” facilities in the USA, everything about General Hydroponics products is eco-friendly.
Pros
- Produced by a trusted hydroponics company
- Design for optimal air-to-water ratio
- Also available in bulk packs (1400 plugs)
Cons
- May not fit all brand name seed starting systems
Recommended Reading: How To Use Rapid Rooters
Best Grow Sponges for LYKO Systems: LYKOCLEAN Grow Sponges
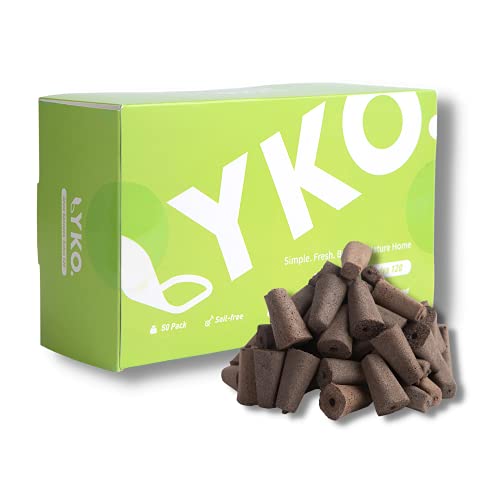
Designed for AeroGarden systems, in particular, these pure Thai coco-coir-based grow sponges also work with many other seed starting systems. The sponges are infused with oilseed extract, which creates a perfect 5.5 pH balance that’s great for germination and root growth.
Pros
- Excellent water retention and draining qualities
- Works as replacements for AeroGarden sponges
- Affordable
- Includes a lifetime warranty
Cons
- Not as well known as sponges from other brands
DIY Grow Sponges
If you’re the hands-on type, there are also a few DIY methods that work just as well as store-bought sponges.
Here are three of our favorites:
Rockwool
One of the best DIY alternatives to store-bought growing sponges is Rockwool. It is perfect for seed germination due to its chemically inert properties.
It retains both oxygen and water well and allows ample space and support for seedlings to sprout and develop roots.
How to make a DIY Rockwool grow sponge:
- First, you need to lower the natural 8.0 pH level of the Rockwool. To do so, simply soak them for approximately two days in acidic water so that the pH level drops down to around 5.5.
- Next, if your Rockwool is in large pieces, rather than cubes, you should trace lines on them with a marker and cut them down into squares with a sharp knife.
- Lastly, if the Rockwool doesn’t already have holes in them, punch holes with a pencil.
Peat Moss
Equally as favored for seed germination, peat moss is another great medium to build DIY grow sponges out with. Just make sure that you do your best to avoid using peat moss that contains perlite.
How to make a DIY peat moss grow sponge:
- Start by mixing peat moss and water together in a container. When you’re finished, the mixture should resemble something like thick sticky oatmeal.
- Prepare a mold. Your mold can be made of various materials, but PVC is the most preferred because it’s reusable. The pipe should be half an inch to an inch thick. Simply cut the pipe into whatever length sections you desire. We suggest two to three-inch sections.
- Next, fill the mold with your dampened peat moss. Don’t be stingy; stuff as much of it in there as possible.
- Allow the mixture to begin drying for several hours and then stick a pencil in the center of the mold. If the pencil doesn’t stay in place, remove it and let the peat moss dry a bit more first.
- A day later, remove the pencil, flip the mold over, tap it a time or two and remove the peat moss plug/sponge. They should slip right out once completely dried.
Kitchen Sponge
Even though they aren’t quite as sophisticated or sought after as peat moss or Rockwool, kitchen sponges do indeed make decent growing sponges.
You can pick a pack of them up from your local dollar store, Walmart, or even online at Amazon for a pretty low cost.
How to make a DIY grow sponge from a kitchen sponge:
- Begin by taking a clean sponge and boiling it for a couple of minutes or microwaving it for four or five minutes. This step ensures that the sponge is bacteria and mildew-free.
- Next, depending on the type of kitchen sponge you’re using, you may need to make room for the seeds. Some sponges have porous surfaces, so there are already plenty of nooks and crannies to stick your seeds. For sponges that are solid, you can either poke holes in them or slice them to make room for inserting seeds.
3 Tips for Using Grow Sponges To Start Seeds
Now That we’ve discussed the best grow sponges, and all the basics in general, let’s have a look at # useful tips for using grow sponges to start your seeds:
1. Start With Clean Sponges
It may seem like common sense, but you might just be surprised how often this tip is overlooked. Starting your seeds in a brand new sponge does not equate to starting with a clean sponge.
The sponge could be contaminated with mold spores or other harmful bacteria. For this reason, always boil or microwave the sponge(s) before planting them with seeds.
2. Adjust the pH level
Depending on the type of sponge you opt to use for starting seeds, the pH level will vary. Remember that the ideal pH level for germinating seeds and accelerating root development is 5.5 to 6.0.
If using Rockwool, for example, you will automatically need to soak it in acidic water to lower the pH level a couple of points.
3. Cover the Growing Tray
Though not absolutely necessary, covering your grow tray, or containers, that your sponges are set up in helps to speed up the germination process.
If you decide to take this route, just remember to keep an eye on the seeds and sponges and remove the cover at the first sign of sprouts appearing.
Closing Thoughts About Grow Sponges
The bottom line about grow sponges is that they are an essential component to success with hydroponics. Whether you choose to buy them or make them yourself, you need them for starting your seeds. There is no way around it.
Hopefully, with the wealth of information above, you have a much better grasp on the subject and are able to make the best-informed decision about what sort of grow sponge is best for you and your hydroponics system.
As you move forward with buying sponges or building them yourself, refer back to this article for further help as often as needed!