
Planting trees on a hillside has both advantages and disadvantages.
On one hand, planting trees and shrubs on slopes helps strengthen the integrity of the hillside.
The amount of soil that washes away when it rains or when the wind blows is greatly reduced, to say the least.
On the other, planting on slopes is a bit more tricky than planting on level surfaces. However, the benefits of planting trees on slopes outweigh the few drawbacks.
Read on below and learn everything you need to know about planting trees and shrubs on hills!
Supplies Needed
Before we walk through the process of planting trees on slopes, there are a few supplies that you must gather:
- Tree(s)
- Shovel and Spade
- Bucket(s)
- Mulch (optional)
- Rocks (optional)
- Planting Rings (optional)
1. Cut into the Slope
The first step to planting trees on a slope is marking the spot and cutting in. The object is to create a flat area approximately three times wider than the root balls of the trees you’re planting.
For this step, a shovel or spade is needed as well as a bit of good old-fashioned elbow grease.
2. Build Out the Slope
Before actually planting your trees, continue working on the flat area you’ve created. The goal during this step is to stabilize the planting area before you sink tree roots into the hillside.
Using a tamper (you’ll find one here at a terrific price) or your feet, pack the earth around the area to the best of your ability before moving on to the next step.
Rocks, a reinforcement net, or even a retaining wall may be necessary during this step, depending on the slope with which you’re working.
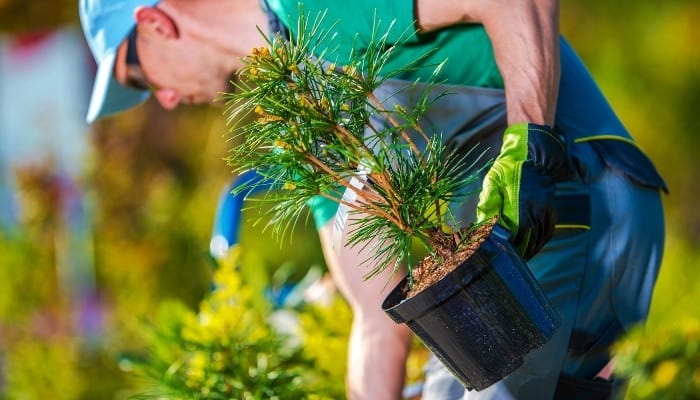
3. Plant Tree(s)
Once you’ve cleared an area and built it out a bit, it’s time for planting trees. Set the tree into the prepared holes with the trunks as upright and straight as possible.
Before tossing the backfill into the hole and covering up the roots, make sure they are spread out in all directions.
Avoid planting trees near the very bottom of the slope as well as too near to the top so that the roots don’t become flooded, overly disturbed, or exposed to drought-like circumstances.
4. Create a Berm
As soon as the trees are snuggly tucked, root ball first, into their individual holes and the earth is tamped down around them, creating a berm is the next step.
The purpose of this step is to slightly reshape the surrounding area to gather water as it drains down the slope and redirect it to the trees.
The most popular method is creating a half-donut shape around the base of the trees.
Alternatively, you may opt to use planting rings (see below) for slopes rather than putting in the extra effort to create berms.
5. Add Mulch
Whether you choose to create a berm or use planting rings to simplify the process (or use both), the final step is adding mulch and other final touches (like cleaning up the leftover debris and trimming your new trees).
For optimal results, place approximately 2-3 inches of mulch around the bases of your newly planted trees.
If you want to go the extra mile and cut back on weeds, you may lay down some mesh or landscape fabric (I recommend this heavy-duty roll) before you start mulching.
Planting Rings for Slopes
If you’re thinking about planting trees on a slope, planting rings are a tool you should consider enlisting. Look, the struggle is real. We all know it.
If creating berms isn’t how you want to spend an entire afternoon, planting rings are the way to go.
What exactly are planting rings? Planting rings for slopes are round edgings that you place into the ground before planting.
Once your trees are in place, filled in, and mulched, the planting rings eliminate the need for building a berm. They catch and redirect water toward your trees.
Planting rings also help reduce wasted nutrients, capturing them and storing them near the root balls of your trees rather than allowing them to leach away into the surrounding soil.
What Are Planting Rings Used For?
Planting rings are used for simplifying the planting process of trees, shrubs, and other ornamentals for landscaping.
In the case of planting trees on a slope, planting rings cut out one of the biggest and dirtiest jobs, creating a berm (rearranging the landscape to capture water for your new trees).
They also make sure that your tree’s root balls stay moist and protected.
How Do You Use Plant Rings?
Using plant rings is super easy. Rough up the area you wish to plant (in this case, on the hillside), and lay the panting ring on the ground.
Push the stakes through the ring to anchor it in place, and then set your tree through the ring into the ground, root ball first.
The rest of the tree planting process (on slopes) is listed in detail earlier in this article.
Recommended Planting Ring – Water Rounds
The WaterRounds Planting Rings we recommend for planting trees on slopes are 24-inches around, more than large enough for most hillside tree species.
The rings are made in America with high-grade materials. They prevent excess run-off and keep your tree roots moist at the same time. The rings also cut back on weeds.
Even better, these planting rings act as a protective barrier between your newly planted trees and dangers like pests, weed eaters, and lawnmowers.
Best Trees for Slopes
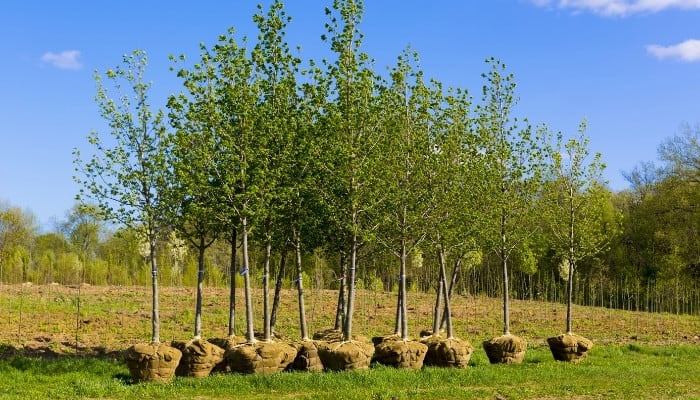
There are countless choices of tree species to plant on slopes. A few of the very best include:
- Cottonwoods
- Evergreens
- Firs
- Fruit trees
- Oaks
- Pines
- Spruce
- Shade trees
- Willows
Planting Fruit Trees on a Slope
Planting fruit trees on a slope is actually a really smooth move if you can pull it off. Many fruit trees grow and thrive far better on hillsides than they do when planted on flatland.
The main reason fruit trees do so well on slopes is that they receive superior drainage and airflow to their roots.
How To Plant on a Steep Slope
The steps to planting a tree on a steep slope are:
- Cut into the slope with a shovel to create a flat area.
- Prepare hole deep and wide enough to accommodate the root ball.
- Fit planting rings into the ground.
- Compact the earth around the exterior of the rings.
- Plant trees, roots first, into the centers of the rings.
- Fill in the holes, covering the roots completely.
- Restabilize the area around the new trees.
- Add mulch and final touches.
How To Plant a Tree on a Slight Slope
Planting trees on slight slopes is slightly different (haha?) than planting on steeper slopes:
- Clear an area for planting with your shovel and prepare hole of suitable size.
- Create a slight berm, or place planting rings at desired spot.
- Plant the trees in the ground.
- Cover the root balls with backfill from the holes.
- Add some organic compost (optional).
- Mulch around the tree base.
Why Are Trees Planted on Steep Slopes?
There are many reasons for planting trees on steep slopes; the two most significant are aesthetical purposes and soil erosion prevention.
Between the roots of trees and their thick canopies, rain and wind that would otherwise wash away soil are deflected. That is why the best species of trees to plant on hills are known for having strong roots.
Do Trees Stabilize Slopes?
One of the primary reasons for planting trees on slopes is indeed for stabilizing the area.
However, the steeper the slope is, the less stable the ground is going to be no matter what you do (including planting trees).
Final Thoughts
Planting trees on a slope isn’t nearly as complicated or back-breaking as it seems.
Hopefully, this article showed you that and helps you feel more confident about planting trees on a slope to beautify and protect your property!
Just remember, the steeper the hill, the steeper the slope, the more you should consider using planting rings.
Also, take the time to consider which tree species is the best one for your slope before randomly picking any type of tree.